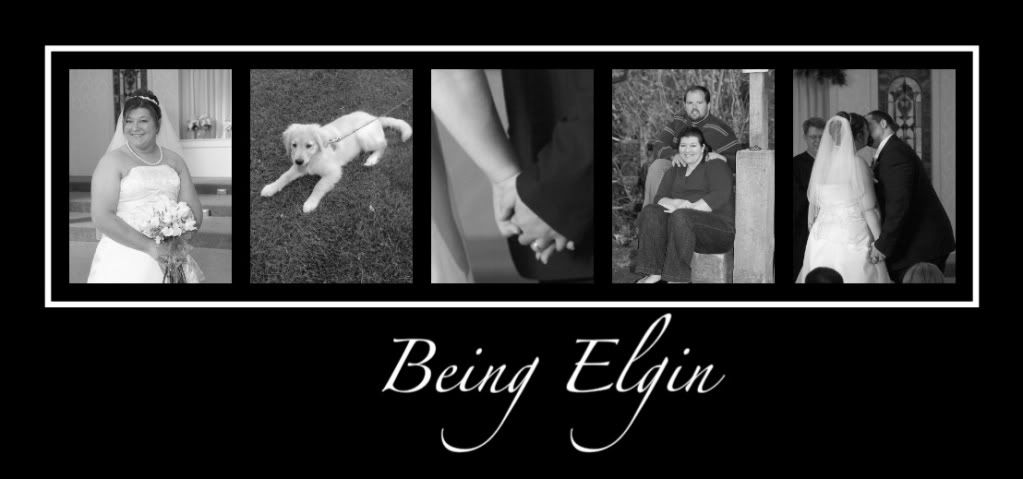
There are five smaller frames within the larger one, and it's designed so that the smaller frames hang below the larger board. I did a little alteration. But first came the paint. Because it was raw wood, it took 2 coats of paint. I decided I'd try some paint I bought this summer that I wasn't happy with. The name of the paint is Pavement, but it looks more brown than black. And once again, aftetr 2 coats I wasn't happy with the color. So, on a trip to Lowes last night, I got a sample pot of Valspar paint, in Cracked Pepper. If you've never used the sample pots, you should! It's a really inexpensive way to get project paint.
You can kind of see the color difference in the picture. The one on the left is the Cracked Pepper paint that actually looks black. So that was the color of choice. After the paint was finally right, I cut pieces of scrapbook paper to fit the back of the frames.
I used scrapbooking paper, in five different patterns, and then used Mod Podge to attach it. You could certainly do without affixing the paper to the backing of the frames, but I wanted it to look nice and tight.
I attempted to use the Mod Podge on the letters too, but I found out quickly that my regular old scrapbooking glue worked better for that. Once all the letters were attached, I put the backs on the frames.
Next, the really tricky part began. The back of the large frame needed covered too but I didn't have big enough paper to do it with one page. I wasn't thrilled about having to seam the paper, but thanks to my paper cutter and Mod Podge it actually turned out ok. I laid the paper one piece at a time and butted the other page up to the edge tight before I put the rest down.
The only thing left to do then was put it all together and hang it. I used clear 3M hooks because I knew if I asked my husband to hang it permenantly he'd fuss. But the hooks work for now.
Happy New Year!
I'm linking to...
Make It Yours Day @ My Backyard Eden
Inspiring Creativity @ Dragonfly Designs
Strut Your Stuff Thursday @ Somewhat Simple
A Crafty Soiree @ Yesterday on Tuesday
Just Something I Whipped Up @ The Girl Creative
All About You Monday @ Texas Monkey


Very pretty! I love the neutral color palette - fits in nicely! Happy New Year.
ReplyDeleteCUTE! I loved this. You are incredibly crafty and I always enjoy seeing what you are up to.
ReplyDeleteAlso, my husband fusses when he is asked to hang stuff. I have a picture that needs hung in our kitchen. It has sat there since 2009.
What a great idea to get sample paint! I never thought of that and I'm excited to try it!
Love it! Wish we had a Dees Crafts :P Thanks for linking up!
ReplyDelete